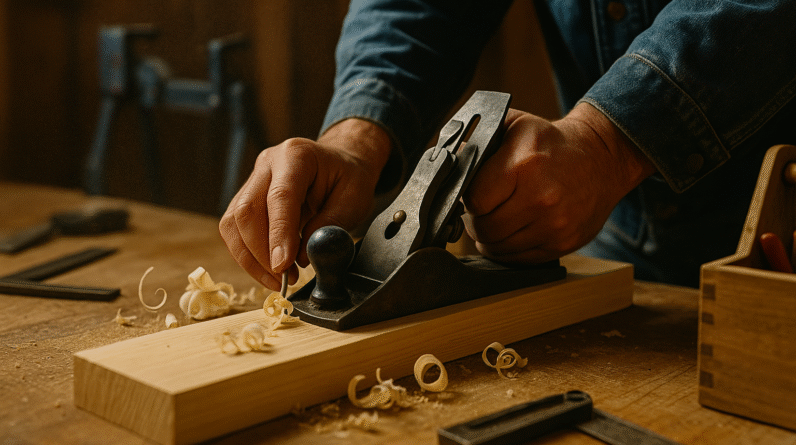
When you’ve spent as many years in a shop as I have, you start to realize that a handful of simple projects can teach you more than any instruction manual. These beginner-friendly builds are sturdy, practical, and kind to folks who are just getting acquainted with sawdust. Each one can be done with the tools most homeowners already own, and each one offers that slow, steady satisfaction that comes from shaping wood with your own hands.
1. Wall-Mounted Coat Rack
A coat rack is one of those small touches that makes a home feel cared for. It’s a good warm-up project too.
Materials: 1×6 board, hooks, screws
Tools: Drill, sander, level
Steps:
- Cut the board to the length you like. Thirty-six inches works nicely in most entryways.
- Smooth the surface and edges with a light sanding.
- Add a finish that fits your space.
- Mark and drill small pilot holes for your hooks.
- Fasten the hooks, then mount the rack into wall studs so it stays put.
A simple project that adds charm and clears clutter near the door.
2. Rustic Bookshelf
A bookshelf is one of those projects that teaches patience and layout, especially when you’re keeping everything square.
Materials: 1×12 boards, wood screws, wood glue
Tools: Circular saw, sander, drill
Steps:
- Cut two side pieces and three to five shelves.
- Attach each shelf with glue and screws, spacing them evenly.
- Sand the whole piece so it feels smooth.
- Add a back panel or cross supports if you want a sturdier frame.
- Finish it with stain or paint.
A solid beginner’s project that looks good in just about any room.
3. Raised Garden Bed
This one is quick, useful, and perfect for anyone who loves fresh herbs or tomatoes in summertime.
Materials: Cedar or pressure-treated 2x6s, screws
Tools: Drill, tape measure, square
Steps:
- Cut four boards to form a rectangle, four by eight feet if you want the classic size.
- Secure the corners with braces or pocket holes.
- Pick a level spot in the yard and set the frame in place.
- Fill it and start planting.
Once you build your first one, the yard starts calling for more.
4. Simple Picture Frame
Back when I taught shop, this was often a student favorite. It teaches accuracy, especially with angled cuts.
Materials: 1x2s or molding trim, glass or plexiglass
Tools: Miter saw, clamp, wood glue
Steps:
- Cut four pieces at matching 45-degree angles.
- Glue and clamp the frame together, adding reinforcement if you’d like.
- Sand and finish the frame.
- Set in the glass, artwork, and backing.
A small project that looks elegant on a wall or shelf.
5. Workbench or Tool Table
Every workshop needs a dependable surface. Building one teaches you the basics of strong framing.
Materials: 2x4s, plywood top, screws
Tools: Circular saw, drill, level
Steps:
- Build a frame from 2x4s, about three by six feet.
- Add cross braces for support.
- Fasten a plywood top and add a lower shelf if you want storage.
- Sand and seal the top so it’s pleasant to work on.
This is one of those pieces you’ll appreciate every time you start a new project.
6. Outdoor Bench
A well-built bench is a small gift to your porch or backyard.
Materials: 2x4s, deck screws, exterior finish
Tools: Saw, drill, sander
Steps:
- Build a sturdy seat frame.
- Attach legs and supports to keep it solid.
- Fasten seat slats and a backrest if you want one.
- Sand and coat with an outdoor finish.
Set it near a firepit or under a shade tree and enjoy the spot you created.
7. Floating Shelves
These shelves look neat and clean, and the hidden support makes them feel a bit magical.
Materials: Plywood or 2x boards, cleats, screws
Tools: Drill, saw, level
Steps:
- Cut your shelves to size.
- Secure a cleat directly into the wall studs.
- Build a hollow box or open cavity that fits snugly over the cleat.
- Slide the shelf onto the cleat and fasten it.
They bring extra storage without cluttering a room.
8. Birdhouse
A simple birdhouse teaches cutting, joining, and outdoor finishing with just a few pieces of wood.
Materials: Scrap pine or cedar, nails or screws
Tools: Handsaw or jigsaw, drill, hammer
Steps:
- Cut the front and back pieces with a gentle roof peak.
- Add the sides, base, and roof. Drill a clean entry hole.
- Assemble everything with glue and nails.
- Paint or seal it, then mount it outside.
It’s a timeless project, especially fun if you have kids or grandkids around.
9. Toolbox or Carrying Caddy
This classic little caddy is good practice for accurate cuts and a comfortable handle.
Materials: Plywood or pine boards, wood dowel
Tools: Saw, drill, glue
Steps:
- Cut two end pieces with angled tops.
- Add a bottom and two long side pieces.
- Drill holes and install the dowel as a handle.
- Glue, nail, and finish it.
Strong enough for tools, simple enough for beginners.
10. Custom Cutting Board
A hardwood cutting board is one of the most satisfying projects you can make in a small shop.
Materials: Maple, walnut, or cherry
Tools: Sander, clamps, food-safe finish
Steps:
- Glue hardwood strips together edge to edge.
- Clamp firmly until dry.
- Sand until smooth, rounding the corners.
- Finish with mineral oil or beeswax.
Good wood makes all the difference here, and the results are beautiful.
Final Thoughts: Build Skills One Project at a Time
Woodworking doesn’t have to be complicated to be meaningful. These projects are small steps that build confidence and skill, and each one leaves you with something useful for your home. If you take your time with this part of your learning journey, you’ll find that every project makes the next one feel a little more natural.